


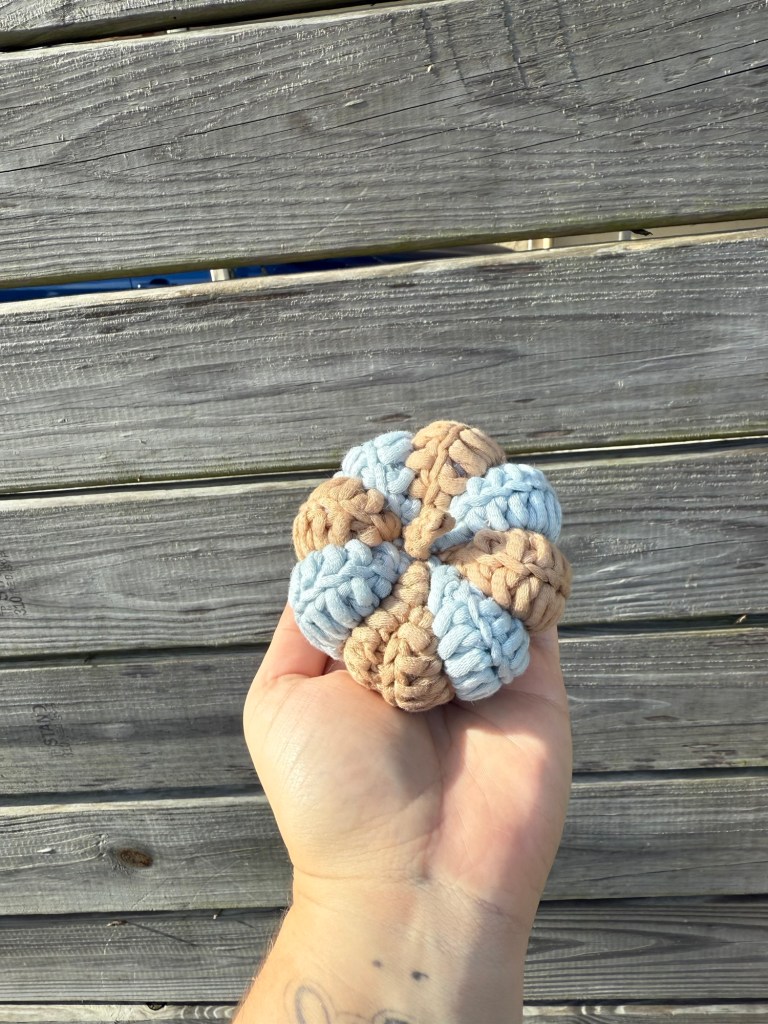
Looking for a fun and easy fall crochet project? This free pumpkin pattern is perfect for beginners and a cozy addition to your autumn décor! Whether you’re just learning the basics or want a quick make for markets, gifts, or home decorating, this little pumpkin works up quickly and uses simple stitches. No advanced skills needed—just grab your yarn, hook, and a bit of stuffing, and I’ll walk you through each step. Get ready to whip up your own squishy pumpkin patch in no time!
Material used:
4mm crochet hook
Tub yarn (can use any yarn)
Polyfil
Scissors
Tapestry Needle
Level: beginner/Easy
ENG US Terms
Abbreviations:
CH: Chain
HDC: Half Double Crochet
R: Row
BLO: Back Loop Only
*Note: if you do two colors alternate the colors ever 2 rows*
In color of your choice
R1: Ch 15, hdc in the second ch from the hook, 13hdc, ch1 and turn (14)
R2-R16: BLO 14hdc, ch1 and turn (14) (15 rows)
R17: Fold your rectangle in half, wrong side facing towards you, slst both sides together. F/O, leave a long tail for sewing. Keeping your work on one side. Take you long tail and your tapestry needle, weave in and out of each rounds until you get back to the beginning, pull on the yarn, it will close the hole. Once the hole is close, weave the yarn around that hole to secure it close, make a knot and flip your work on the right side.
Stuff your pumpkin, with the rest of your tail weave in and out the other side of the pumpkin, start closing the hole by pulling on the tail. Finish stuffing before closing. Make sure to not over stuff, you do not want the stuffing to show through the stitches. Pull tight and weave your yarn around the opening to secure it close. Like we did for the other side.
With the rest of the tail we will make the pumpkin bumps. Pass the yarn on top of the pumpkins, I did every 2 rows, insert it at the bottom of the pumpkin, come back out at the top and pull tight. Hold the yarn tight and repeat all around the pumpkin.
Make a knot or two at one end of the pumpkin. Make sure it’s in the caved area either at the top or bottom. Weave in the tail.
Stem:
R1: Ch5, sc in the second ch from the hook, sc in the remaining chains. F/O, leave a tail for sewing.
Insert the long tail from your stem into the top of your pumpkin coming out at the bottom, in the stitch next to the one you came out of, insert your tapestry needle and pull it out at the top. Tight a knot with the slst tail. Weave in the tails.
I hope you enjoyed making this cute little pumpkin as much as I loved designing it! If you try the pattern, I’d love to see your finished pumpkins—feel free to tag me or share them in the comments. Don’t forget to pin or save this post so you can come back and make a whole patch whenever the fall mood hits. Happy crocheting, and stay tuned for more free beginner-friendly patterns coming soon!
Follow us here⬇️⬇️⬇️⬇️

Leave a comment