

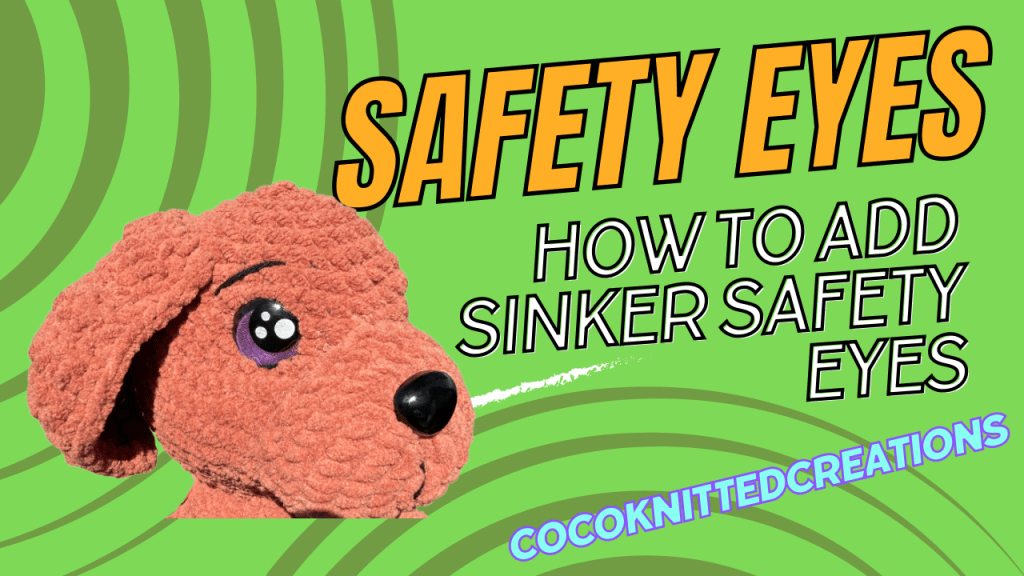

If you’ve ever struggled with getting your amigurumi eyes just right — perfectly placed, secure, and cute as can be — today’s post is for you! My brand-new YouTube tutorial is live, and I’m walking you through how to add sinker-style safety eyes to your crochet plushies like a pro. 🧶✨
In the video, I cover everything you need to know:
– What sinker safety eyes are and why they’re a game changer
– How to install them safely and securely
– My favorite tricks for perfect placement every single time
👉 [Watch the full tutorial on YouTube here!]
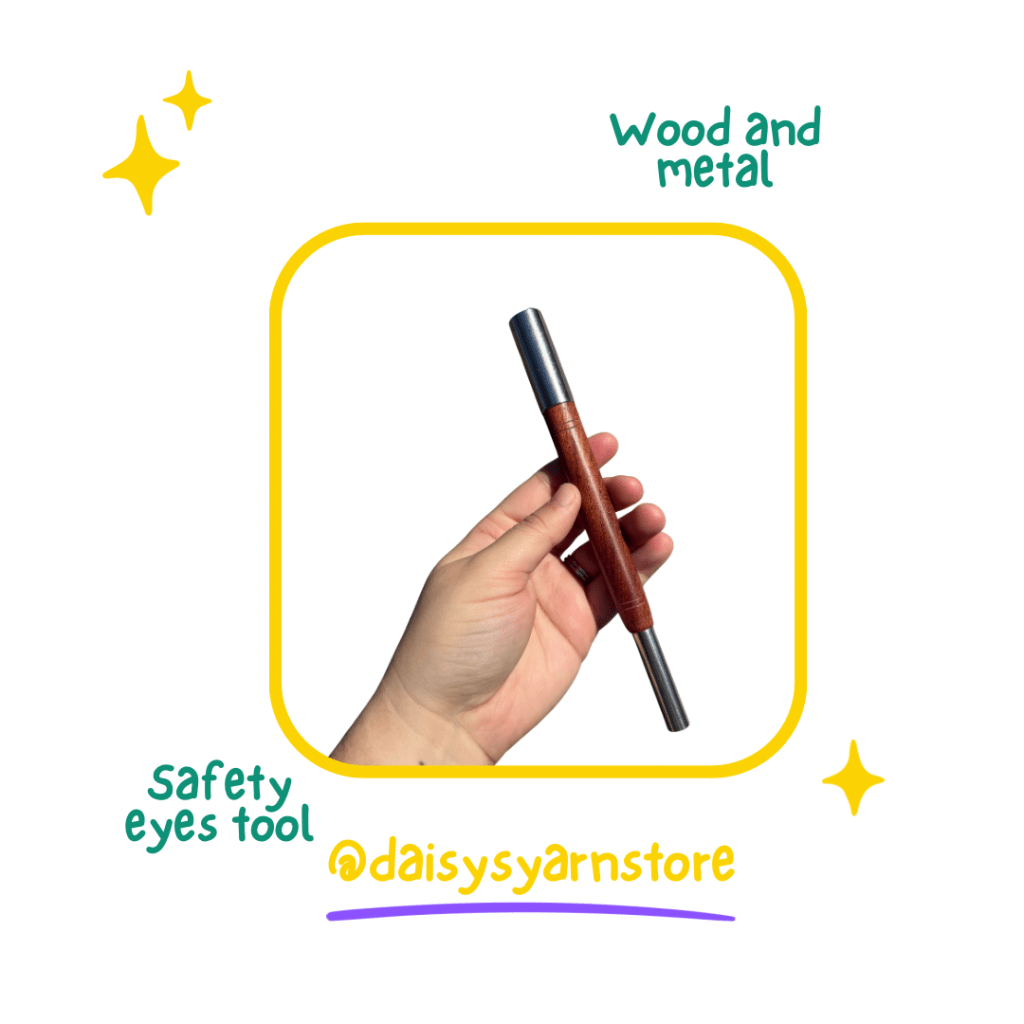
🛍️ Safety Eyes & Tool Restock!
To celebrate the tutorial launch, I’ve also restocked my sinker safety eyes and a few of my most-loved crochet tools in my Ko-fi shop
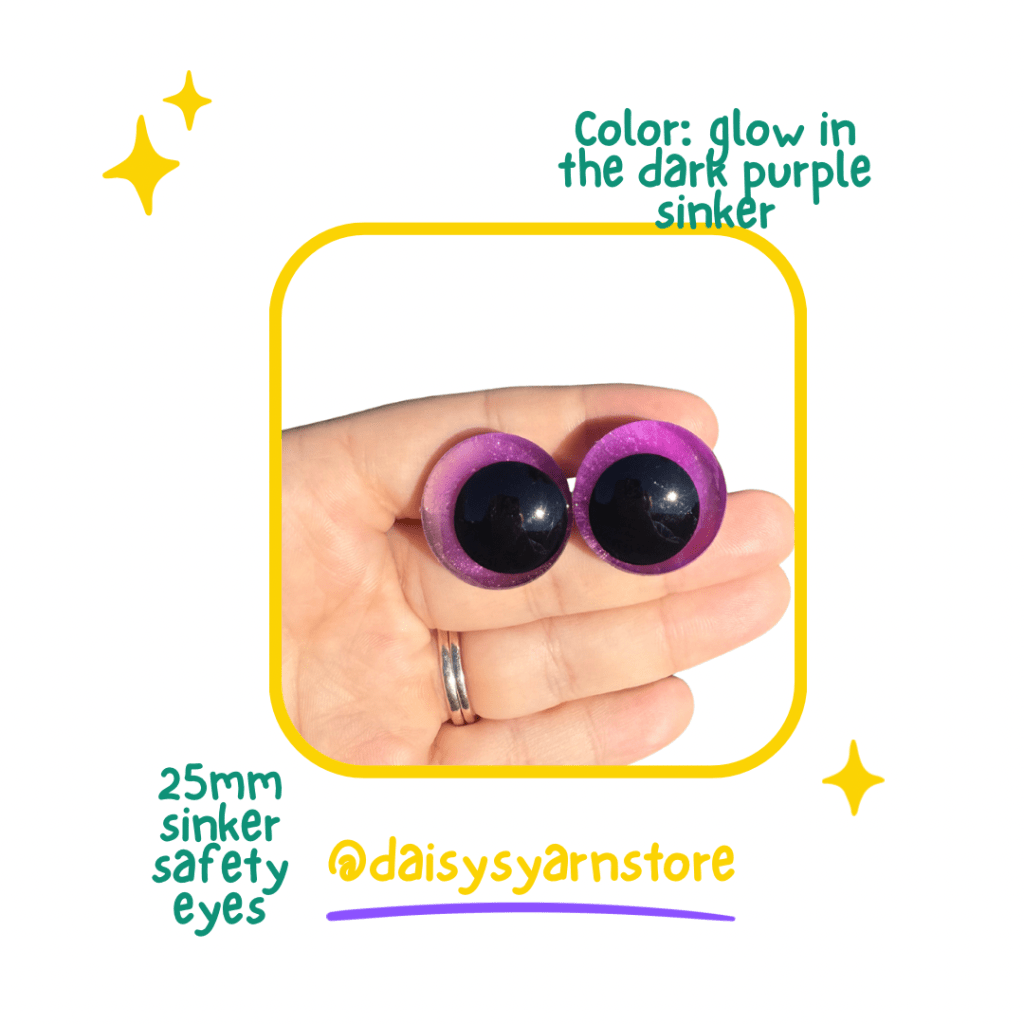
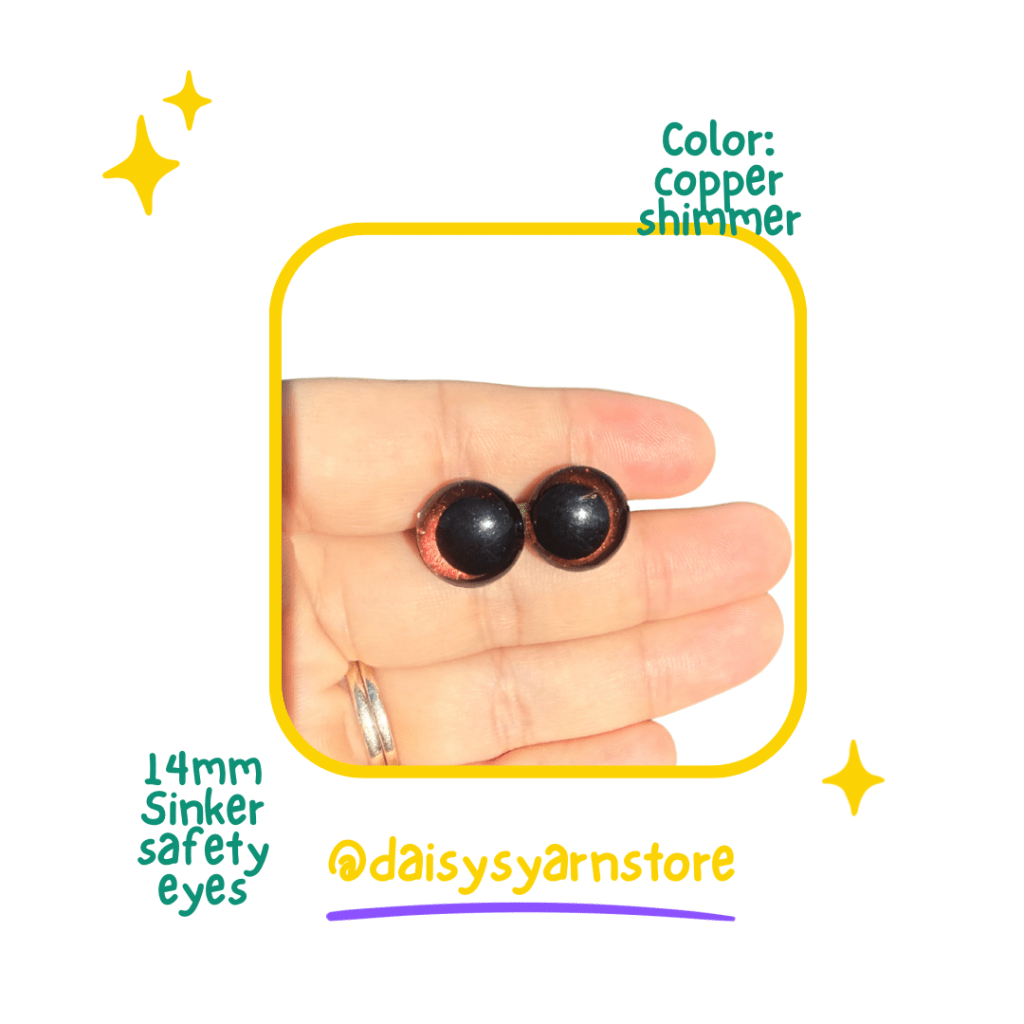
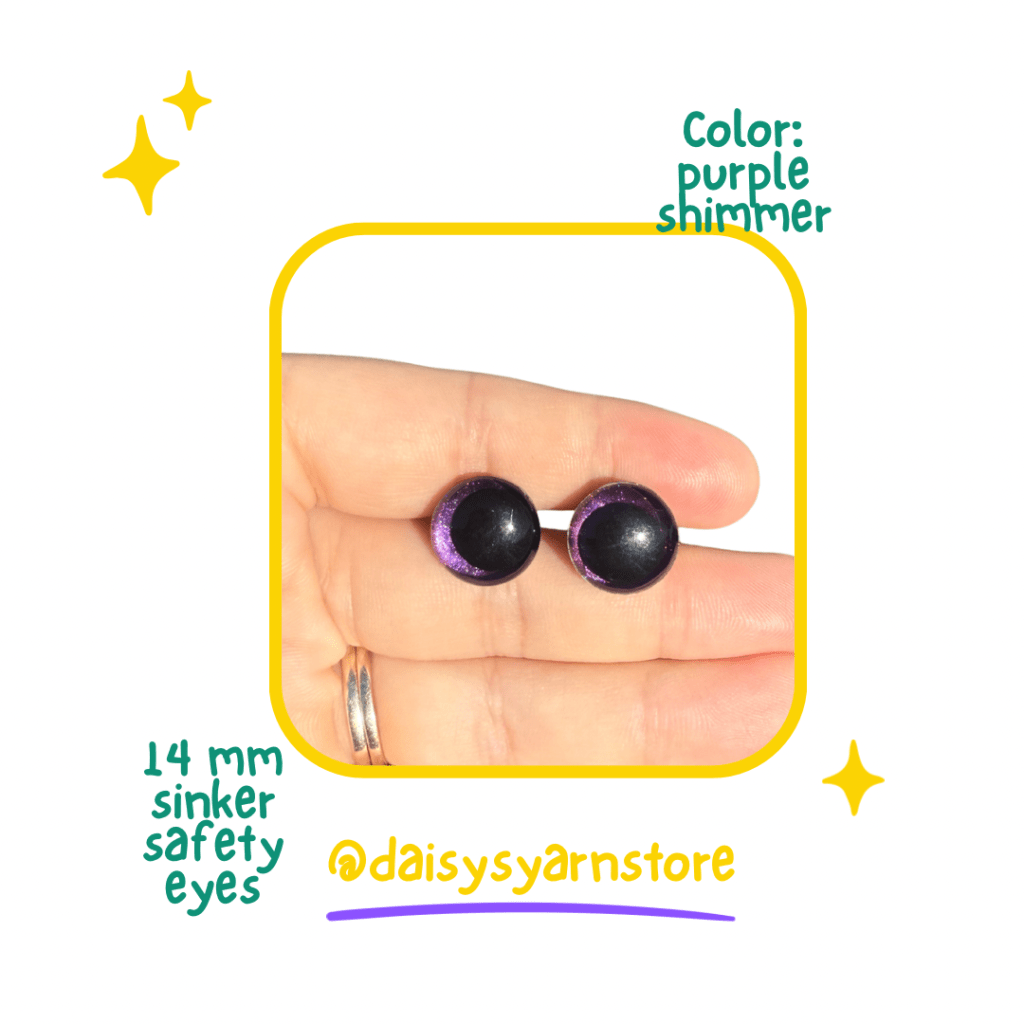
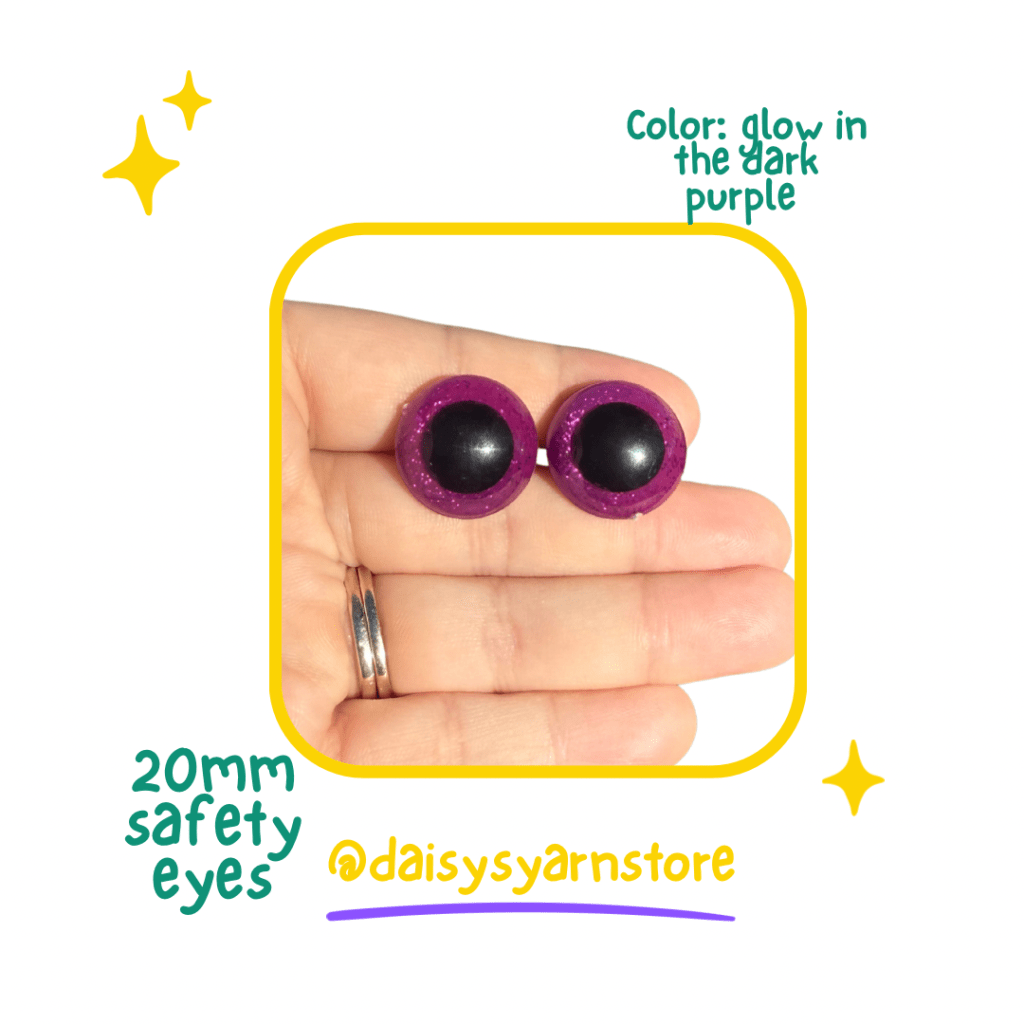
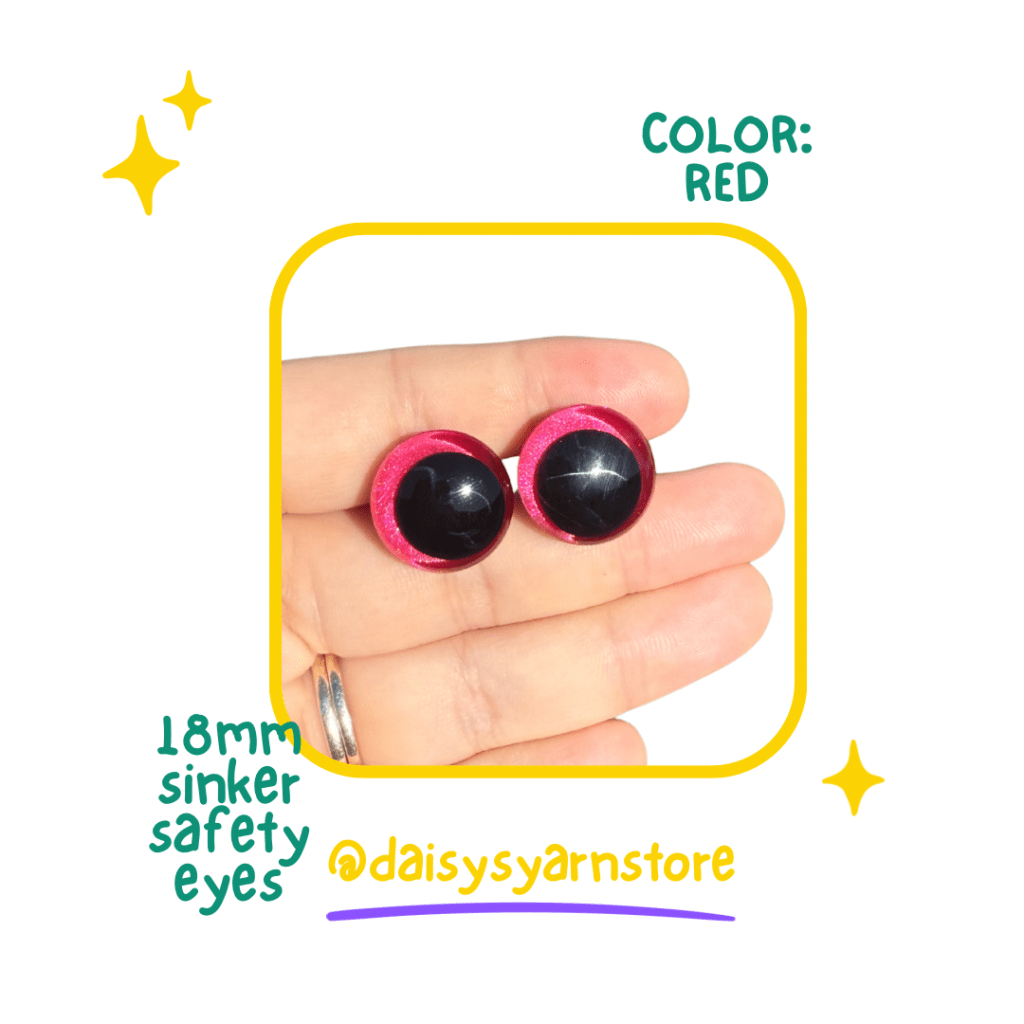
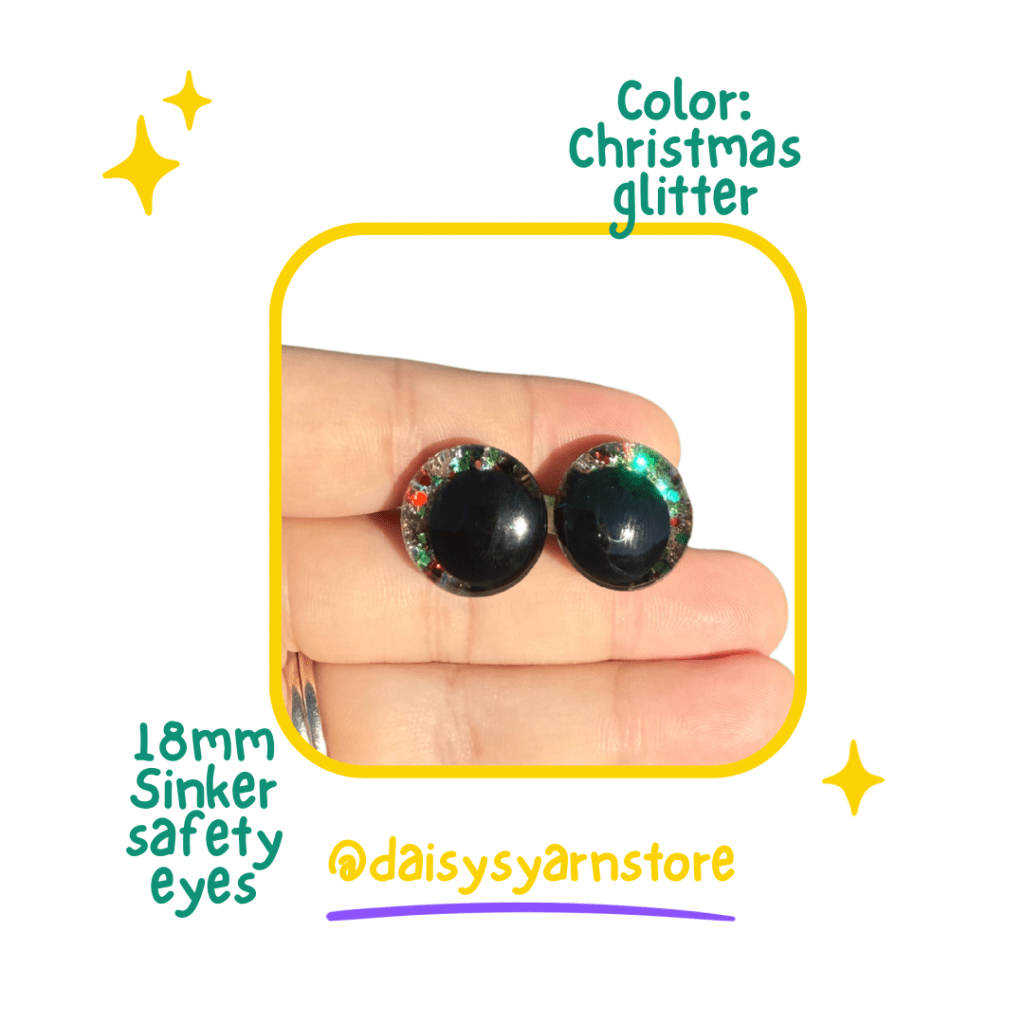
These eyes are available in multiple sizes (14mm, 18mm, 20mm and 25mm)— perfect for plushies/ amigurumi, or any project that needs that adorable sparkle! Quantities are limited and they tend to sell out quickly, so grab yours while they last.
Use the Code: CHRISTMAS15 at check out for 15% off.
Code valid until December 31st 2025.
Here are some of our eyes and tool you can find in our yarn store.


💕 Let’s Crochet Together
If you’ve been wanting to give your amigurumi that professional, polished look, this tutorial is a great place to start. I’d love to see your creations — tag me on Instagram or use #CocoKnittedCreations so I can share your adorable makes!
If you enjoy our hand painted safety eyes, tag us on Instagram @daisysyarnstore so we can share your makes made with our products!

Leave a comment